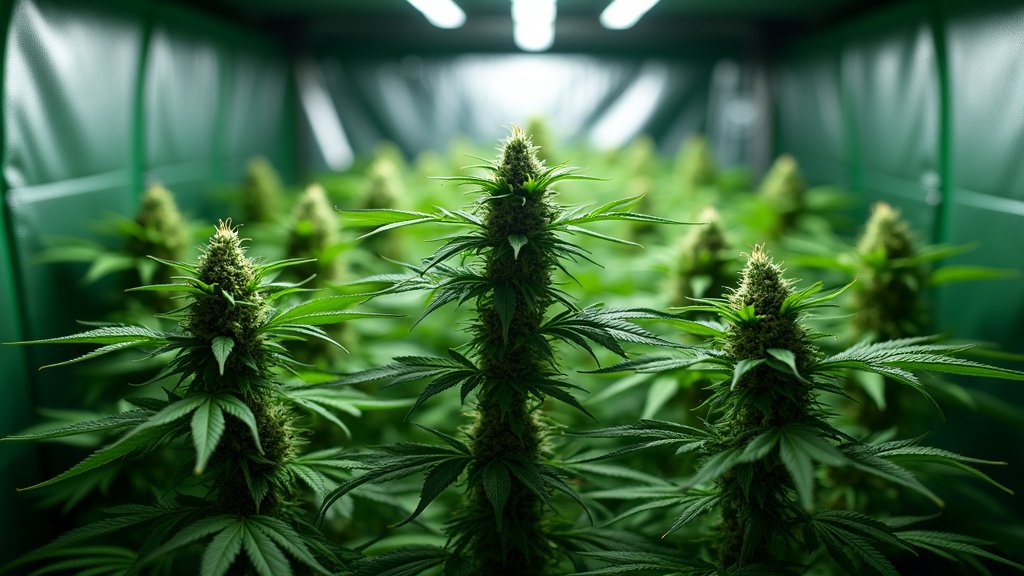
Cloning cannabis plants is a fundamental skill for any serious cultivator, ensuring genetic consistency and preserving desirable traits from one generation to the next. This guide will walk you through the process of creating cannabis clones, from selecting the right mother plant to caring for your clones until they’re ready for transplantation.
Benefits of Cloning Cannabis Plants
Cloning cannabis plants offers several advantages:
- Genetic Consistency: Clones are genetically identical to the mother plant, ensuring consistent quality and characteristics.
- Cost-Effective: Cloning eliminates the need to purchase new seeds, reducing costs.
- Time-Saving: Clones mature faster than plants grown from seeds, speeding up your cultivation cycle.
Materials Needed for Cloning
Before you start, gather the following materials:
- Healthy mother plant
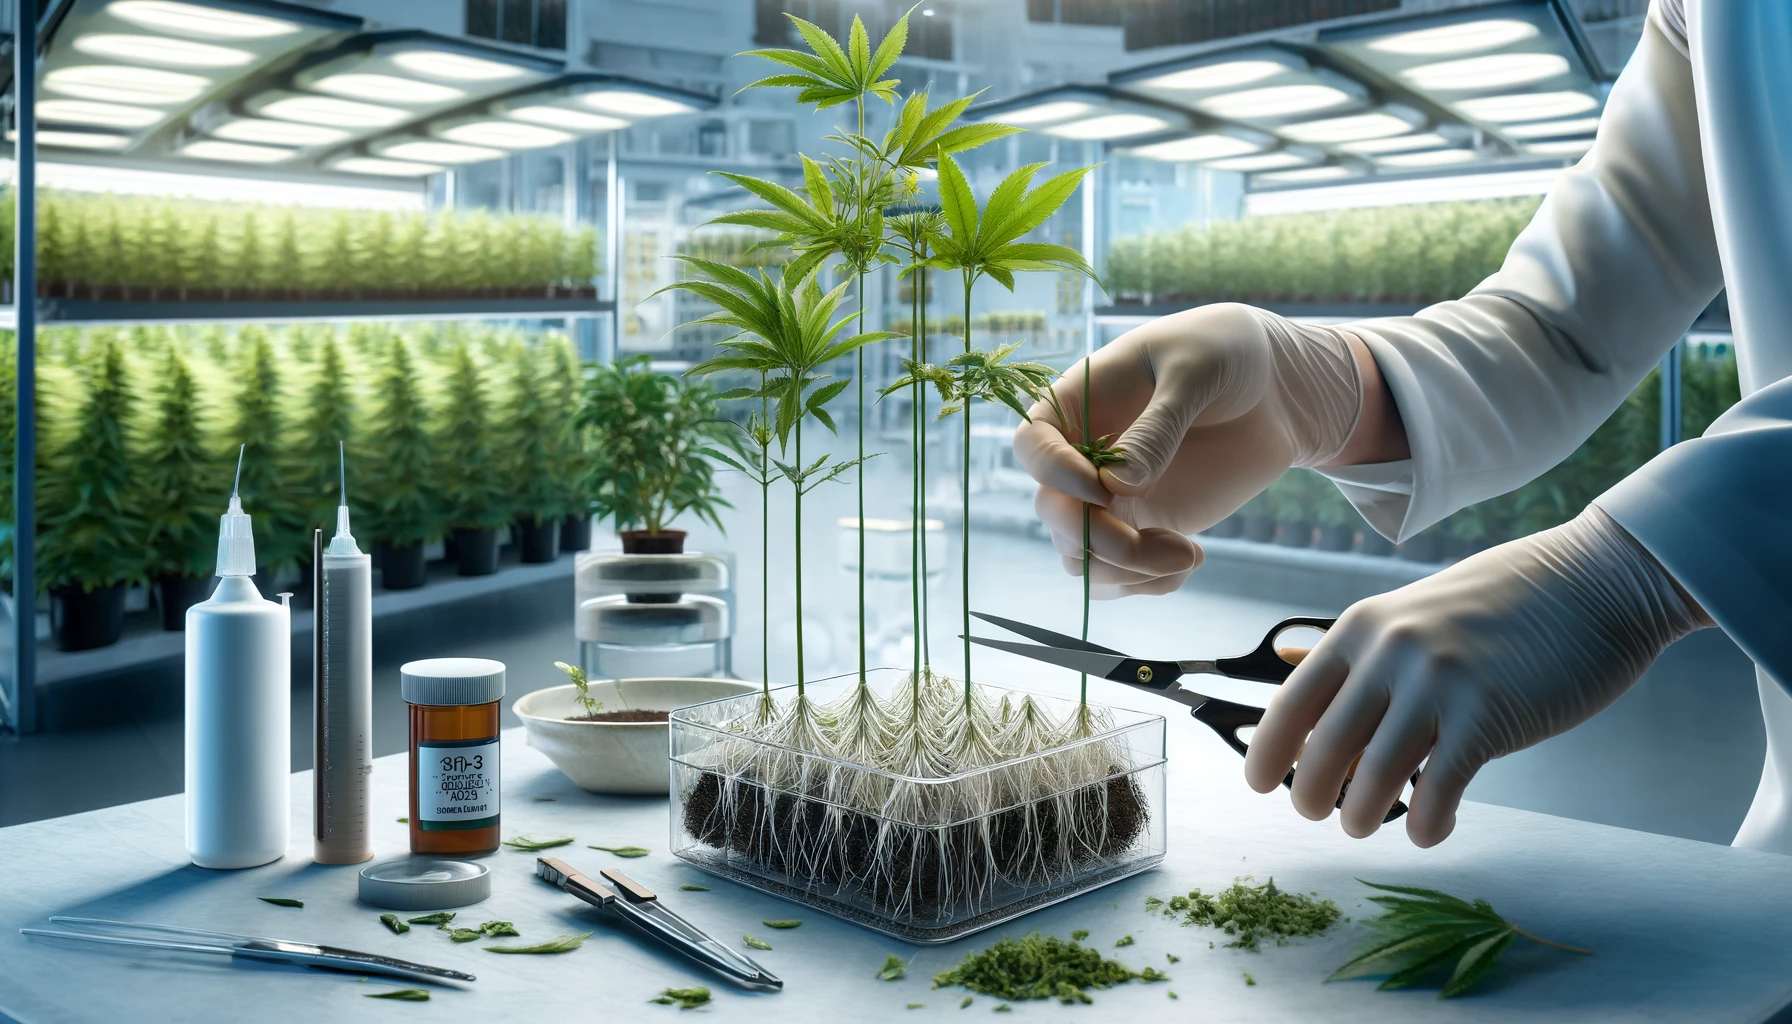
- Sharp, sterile scissors or a razor blade
- Rooting hormone
- Cloning medium (rockwool cubes, peat pellets, or soil)
- Cloning tray and humidity dome
- Spray bottle with water
- pH meter and pH-adjusting solutions
- Grow lights
Step-by-Step Guide to Cloning Cannabis Plants
1. Selecting the Mother Plant
Choose a healthy, vigorous mother plant with strong growth and desirable traits such as high yield, potency, and resistance to pests and diseases. Ideally, the mother plant should be at least two months old and in the vegetative stage.
2. Preparing the Cloning Area
Set up a clean, sterile environment to minimize the risk of contamination. Ensure you have adequate lighting and maintain a temperature between 70-75°F (21-24°C) with a humidity level of around 70%.
3. Taking Cuttings
- Identify the Cutting Site: Select a healthy branch with several nodes, ideally from the lower part of the plant as they tend to root better.
- Make the Cut: Using sharp, sterile scissors or a razor blade, make a clean cut at a 45-degree angle just below a node. Aim for a cutting that is 4-6 inches long.
- Trim the Leaves: Remove the lower leaves to expose the nodes, leaving only a few sets of leaves at the top to reduce water loss through transpiration.
4. Applying Rooting Hormone
Dip the cut end of the clone into a rooting hormone to encourage root development. Rooting hormones can be found in gel, liquid, or powder form. Follow the manufacturer’s instructions for best results.
5. Planting the Cuttings
- Prepare the Cloning Medium: Moisten your chosen cloning medium (rockwool cubes, peat pellets, or soil) and adjust the pH to 5.5-6.0.
- Insert the Cutting: Gently insert the treated end of the cutting into the cloning medium, ensuring it’s securely in place.
6. Creating the Right Environment
- Place in Cloning Tray: Arrange the cuttings in a cloning tray and cover with a humidity dome to maintain high humidity.
- Lighting: Provide gentle, indirect light for 18-24 hours a day using grow lights. Avoid direct sunlight as it can be too intense for the young clones.
- Mist Regularly: Use a spray bottle to mist the clones and the inside of the humidity dome to keep the environment moist.
7. Monitoring and Maintenance
- Check Daily: Inspect the clones daily for signs of wilting or mold. Ensure the humidity remains high and the medium stays moist.
- Adjust pH: Regularly check and adjust the pH of the water used for misting to maintain the ideal range of 5.5-6.0.
8. Root Development
Roots typically begin to form within 7-14 days. Gently tug on the clone to check for resistance, indicating root growth. Once the clones have established a healthy root system, they are ready for transplantation.
9. Transplanting Clones
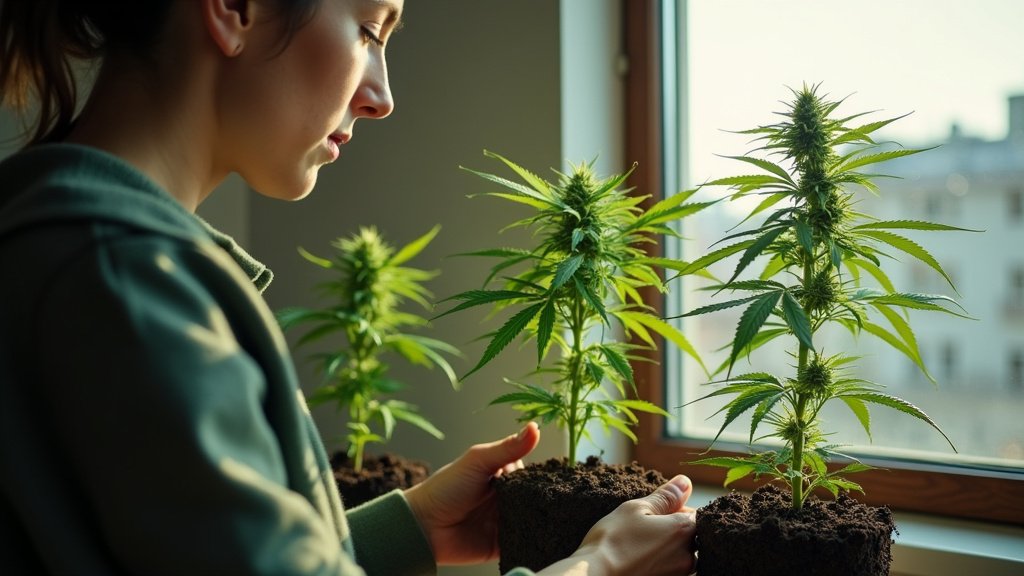
- Prepare the Growing Medium: Choose a suitable growing medium (soil, coco coir, or hydroponic setup) and prepare it for the transplant.
- Transplant Carefully: Gently remove the clone from the cloning medium, being careful not to damage the new roots. Plant it into the prepared medium and water lightly.
10. Post-Transplant Care
- Adjust Lighting: Gradually acclimate the clones to stronger light over a week to prevent shock.
- Monitor Growth: Keep an eye on the clones for the first few weeks to ensure they are adapting well and showing new growth.
Common Mistakes to Avoid
- Using Unhealthy Mother Plants: Always select the healthiest plants to clone from to ensure robust clones.
- Poor Sterilization: Ensure all tools and the working environment are sterile to prevent infections.
- Incorrect Humidity Levels: Maintain high humidity for the clones to encourage rooting.
- Overwatering: Keep the cloning medium moist but not waterlogged to avoid root rot.
FAQs
What is the best time to take cuttings from the mother plant? The best time to take cuttings is during the vegetative stage when the plant is actively growing.
How many clones can I take from one mother plant? The number of clones depends on the size and health of the mother plant. Generally, you can take multiple cuttings without harming the mother plant.
Do I need special lighting for clones? Yes, clones require gentle, indirect light. Fluorescent or LED grow lights are ideal.
How long do clones take to root? Clones typically take 7-14 days to develop roots, though this can vary depending on conditions.
Can I clone a clone? Yes, you can clone a clone, but repeated cloning can lead to genetic drift and weaker plants over time.
What should I do if my clones are wilting? Wilting can be a sign of low humidity or inadequate moisture. Ensure the humidity dome is in place and mist the clones regularly.
Conclusion
Cloning cannabis plants is an effective way to preserve and propagate desirable genetics. By following these steps and maintaining a clean, controlled environment, you can successfully create healthy clones ready for transplantation. Remember, practice makes perfect, and with time, you’ll master the art of cannabis cloning, ensuring a bountiful harvest of consistent, high-quality plants.


